So I started a Sponge Wall Movement, not the overdone finishes from decades ago. Fortunately, sponging has come a long way since the 1980s. I was inspired to give it a try when I found an accent wall that I had mistaken for wallpaper. Turns out these days, successful sponged finishes require a lighter hand and creative mind. The effect can still be very impressive and dramatic. Exactly what our 10 year old daughter was longing for, only this project cost close to nothing and was far less permanent than wall paper. Once I realized that everything I needed was readily available, I grabbed my kitchen sponge and left over paint and created a statement wall that inspired many others to do the same!
You will need:
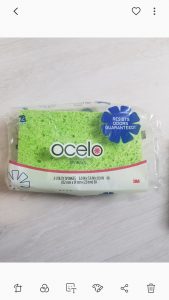
Start with a sponge straight out of the package
(no need to add water but not bone dry)
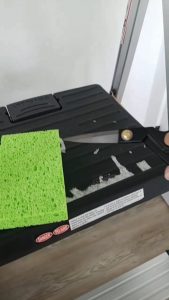
I trimmed the edges to soften the straight edge
(optional, not necessary)
BEFORE
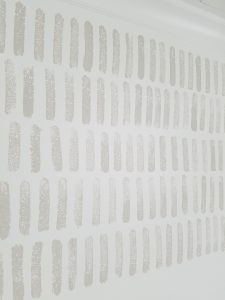
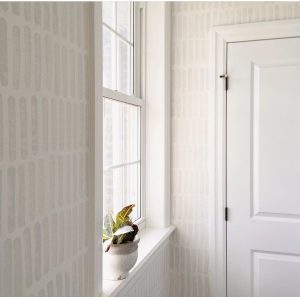
Like any new project it began with fear but it’s just paint, you could always go over it. Our wall measured 9×10 and I started at the top left corner, completed one row and than started the next directly beneath. Generously dip the sponge in paint and press firmly. I continued to make three to four more lines before dipping the sponge in more paint. Just eyeball the spacing, no ryhme or reason to the pattern. The subtle stagger makes the imperfections look perfect.
Note: it totally feels like a bad idea until about 4 rows in, hang in there it’s awesome!
TIPS:
Have a few extra sponges on hand, one to clear up any line dripping.
If you have a wall with windows or run into door frames cut an extra sponge to work around that space and create even lines. We did the same for wall sockets.
Take your time! After your first line you pick up speed but for best results and consistency, keep the same pace through the finish.
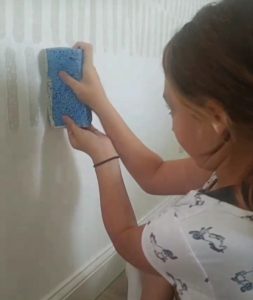
Anyone can do this, our 10 year old finsihed the bottom rows all on her own.
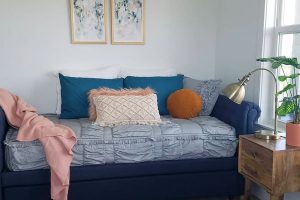
AFTER
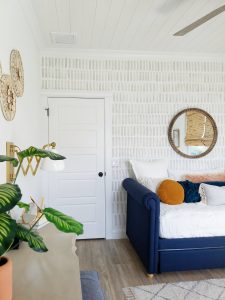
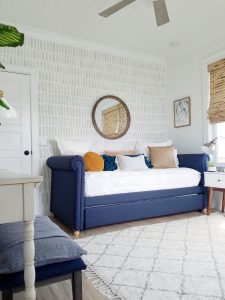
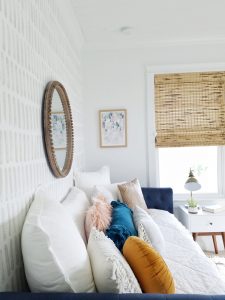
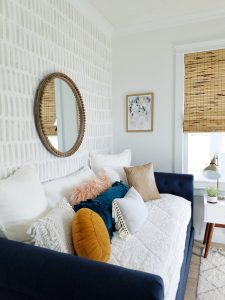
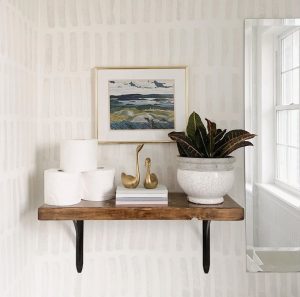
Ta-Da! DIY accent wall for under $10.00 in less than an hour. Not even a week passed before I tackled a second wall in our laundry room- free handing a different pattern.
Paint Colors– Sherwin Williams Pure White and Agreeable Gray

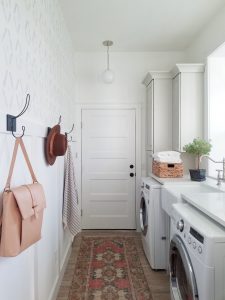
This finish is even effective on textured walls! How do I know this? Because I have seen it recreated by 100s that felt inspired to raise the sponge in their own homes! No one wall is the same, each has their own style and personality using a variety of colors, shapes, and patterns AKA the sponge wall movement. Creating a DIY statement wall has never been easier, but clearly it is addicting so to all the husbands- hide the sponges!
Project inspired by my talented friend Rachel
Video step by step tutorial saved to my Instagram highlights
Shop Sophie’s Room


Beddy’s bedding “Love at first white”